USB keyloading
Load keys into a radio over its own USB programming cable, with no keyload adapter, and set up the USB link when a radio needs something other than the defaults.
You need
- The radio's own USB programming cable (a standard USB cable won't work)
- A radio that supports keyloading over USB, charged and turned on
Connect and load
Turn the radio on, then plug its USB programming cable into the radio and into the unit's USB-A port.
The USB keyloading screen opens by itself and connects. Its State moves through
Looking for the radio
,Bringing the link up
andGetting an address
toReady
. The title then readsRadio at 192.168.128.1, ready to load
(the address varies).If the screen didn't open, tap USB keyloading on the main menu, then Connect to the radio.
Under Operations, tap Load keys. The Load keys screen title now reads
Over USB — radio at …
.Tick the keys, tap the Load button and confirm, exactly as in Load keys over three-wire. Groups load the same way.
When you are finished, tap Disconnect so the radio is released, then unplug the cable.
The USB keyloading screen's Operations also offer Keys in the radio (to see what it holds, erase a key, or zeroize) and Verify communication.
One plug-in, one connection
A radio accepts one connection each time its cable is plugged in. To connect again, for example after Disconnect or after changing a USB setting, unplug the cable from the unit and plug it back in first.
USB settings
The defaults suit Motorola APX radios. Change them only when a radio needs something else. Open USB keyloading › USB settings.
Changing a setting closes a link that was built with the old value. Unplug and replug the radio, then connect again.
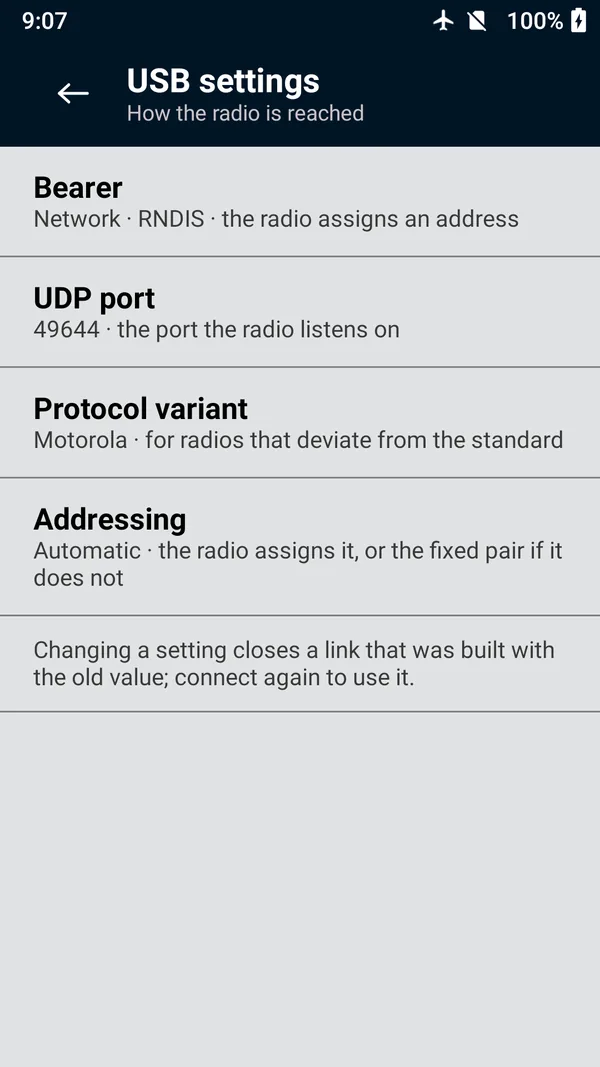 (enlarge)
| Setting | Choices | Default |
|---|---|---|
| Bearer | Automatic · whichever the radio answers; Network · RNDIS, where the radio assigns an address; or Serial · PPP, where the radio assigns an address during the link setup. A radio offers one or the other, not both. | Automatic |
| UDP port | The port the radio listens on: 49644 — Motorola radios (default), 49165 — the TIA standard's default, or Enter a port… (49165 to 65535). | 49644 |
| Protocol variant | Motorola for Motorola devices, which differ from the standard's session control; Standard for everything else. | Motorola |
| Addressing | Automatic or Fixed addresses. See below. Not shown when the bearer is Serial. | Automatic |
Addressing: automatic or fixed
Over USB, the radio and the unit each need an IP address on the little network the cable forms.
- Automatic (the radio assigns it) asks the radio for an address, as the standard specifies. If the radio stays silent, the app falls back to the fixed pair. Use this unless you have a reason not to.
- Fixed addresses skips the request entirely and uses two addresses you set: This device and Radio. The first time you choose it they are filled in as
192.168.128.2and192.168.128.1. Tap either to change it.
Choose Fixed addresses when a radio doesn't assign addresses, or when the connection keeps stopping at the DHCP lease
step. Set Radio to the address the radio uses on its USB link, and This device to a free address on the same network, as the radio's configuration shows them.
To change it: USB keyloading › USB settings › Addressing, choose the option, then unplug and replug the radio and connect again.
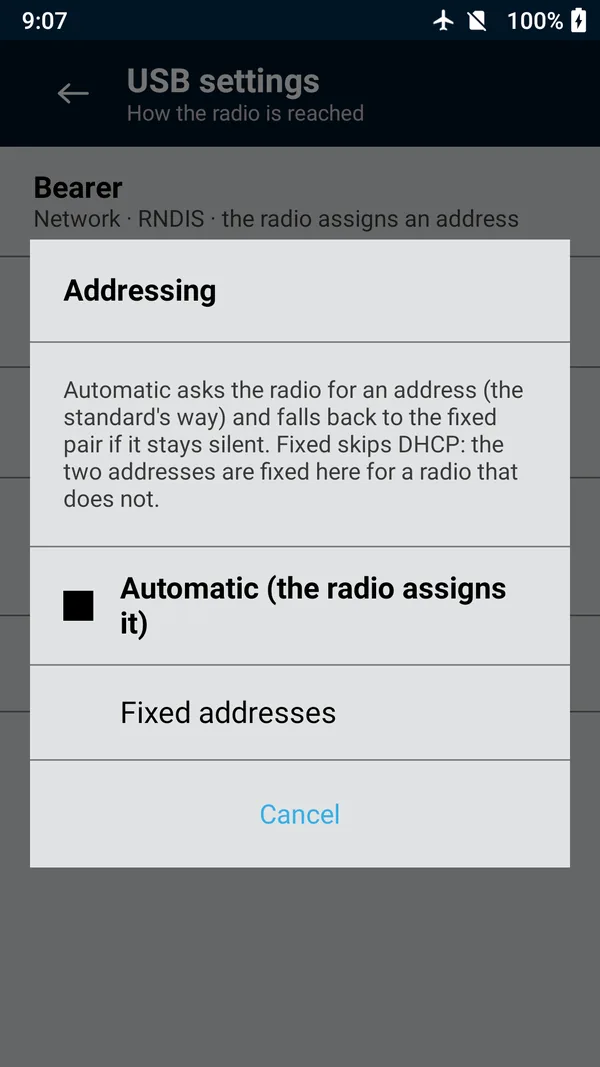 (enlarge)
When it doesn't connect
If the connection fails, the screen lists each step it tried and marks where it stopped. The title shows the failed step and why. The most common causes:
| Stopped at | Try this |
|---|---|
| find the radio | The radio isn't on, or the cable isn't a programming cable for that radio. none presenting a network (RNDIS) interfacemeans something is attached but it isn't presenting itself as a radio. |
| RNDIS initialise | The radio has already had its one connection for this plug-in. Unplug the cable, plug it back in, and tap Try again. |
| DHCP lease | The radio isn't assigning an address. Switch Addressing to Fixed addresses. |
| ping the radio | The addresses don't match the radio's. Check the fixed pair, or go back to Automatic. |
More in USB problems.